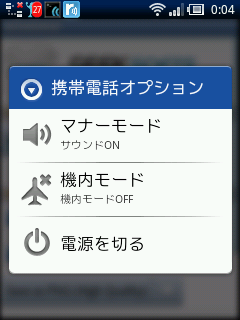
X10 mini pro の root を取る手順を書きますね。
root を取る作業自体は、何も危ない事は無く、怖がる必要はありません。
※危ないのは root を取ってからのゴニョゴニョ作業です。
Android SDK をダウンロードしましょう
ここではWindows用のものをダウンロードします
http://developer.android.com/intl/ja/sdk/index.html

android-sdk_r06-windows.zip を解凍して c:¥and へコピーします。
※セットアップ等はありませんコピーするだけです

次にexploid_x10mini.zip をダウンロードしましょう
http://android.doshaska.net/x10miniroot

exploid_x10mini.zip を解凍して c:¥exploid_x10mini へコピーします。
※セットアップ等はありませんコピーするだけです

PCとマシン(mini pro)をUSBケーブルで繋ぎましょう
DOS窓を起動して、以下の呪文を1行ずつ入力しましょう
注意:¥は半角だよ~
path = c:¥and¥tools
cd c:¥exploid_x10mini
adb push Superuser.apk /sdcard/Superuser.apk
adb push su /sdcard/su
adb push exploid /sqlite_stmt_journals/exploid
adb push busybox /sqlite_stmt_journals/busybox
adb shell
cd sqlite_stmt_journals
chmod 755 exploid
chmod 755 busybox
ここでマシンのWiFiをOFFしてONする
./exploid
rootshell
パスワードを入力 → rootnow
コマンドプロンプトが # になったらOK
./busybox cp /sdcard/Superuser.apk /system/app/
./busybox cp /sdcard/su /system/bin/
./busybox cp busybox /system/bin/
chmod 4755 /system/bin/su
rm /system/bin/rootshell
exit
exit
さぁ、これで root が取れましたよ、簡単でしょ!


